How to add a new policy
- Open your Admin Console.
- In the left-side navigation bar, select Policies.
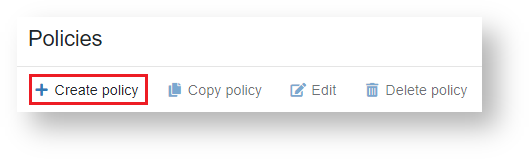
- On the Policies page, click Add.
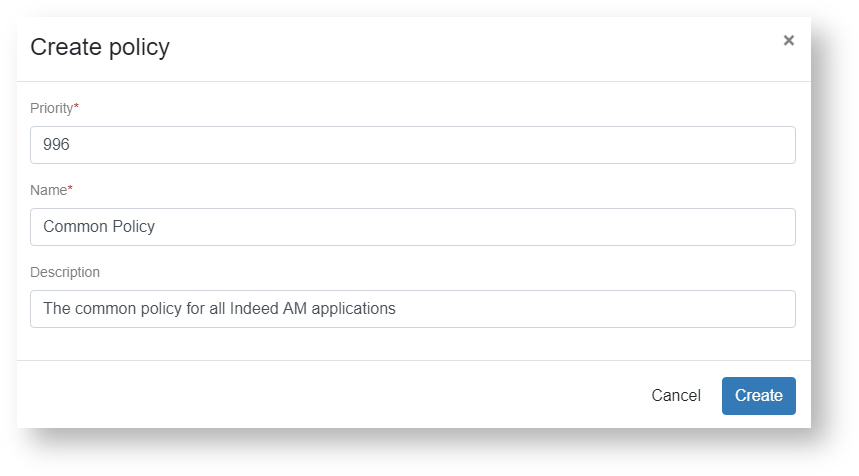
- Indicate the priority status and name for a new policy, include its description (optional), and click Add.
How to configure a policy
- Open your Admin Console.
- In the left-side navigation bar, select Policies.
- Select the appropriate policy.
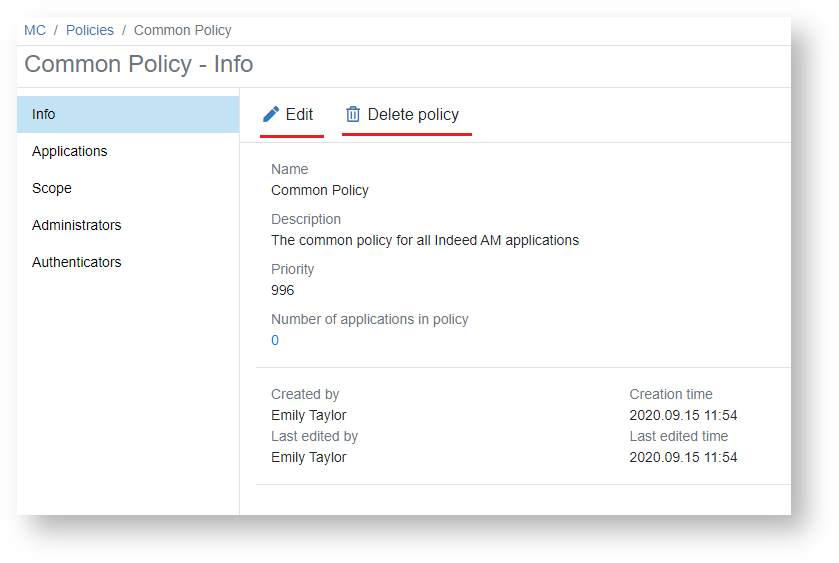
Information
This section contains basic information about the policy and its history. If you would like to edit the information, please click Edit. To delete a policy, click Delete.
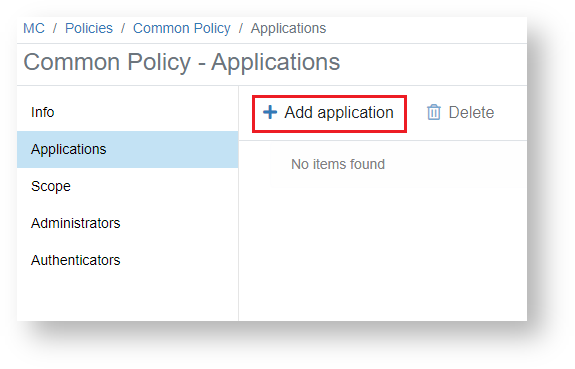
Applications
This section displays your policy apps. Please follow these steps to add an app:
The Indeed AM system apps include the Indeed AM ESSO Agent apps, as well as the Indeed AM integration modules (Indeed AM Windows Logon, Indeed AM NPS Radius, RDP Windows Logon, etc.).
- Click Add application.
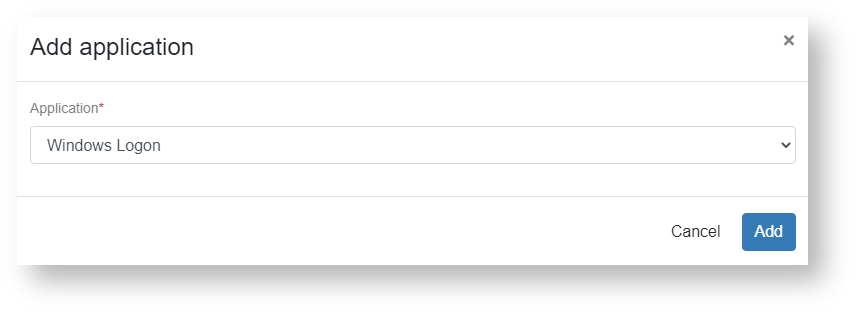
In the Add a new application window, select a relevant app and click Add. Note. You can only add an application if you have a registered license for this module.
You can only add an application if you have a registered license for this module.
- To delete an app, select a relevant app and click Delete.
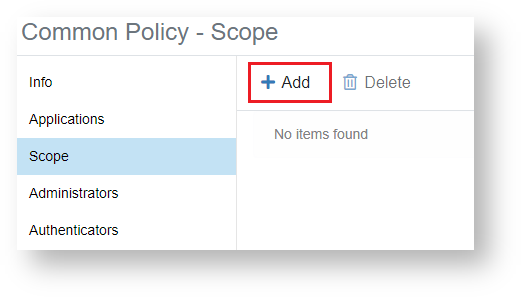
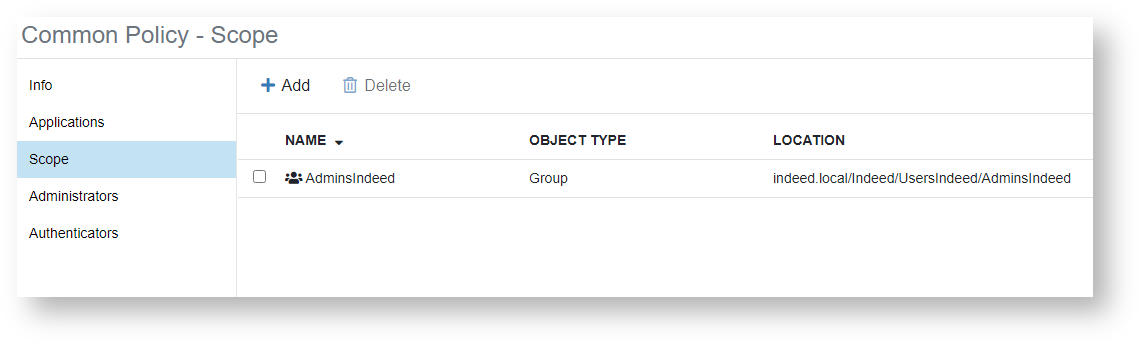
Scope
This section shows the list of objects covered by a given policy. Please follow these steps to add an object:
- Click Add.
- Select one option in the Object type field: User, Group or Container.
- In the Location field, please select the object location − it may be an entire user folder or a separate container.
- Please enter the object name or its part in the Name field and click Search. Select a relevant object and click Add. Once the object has been successfully added, it will be displayed in this section.
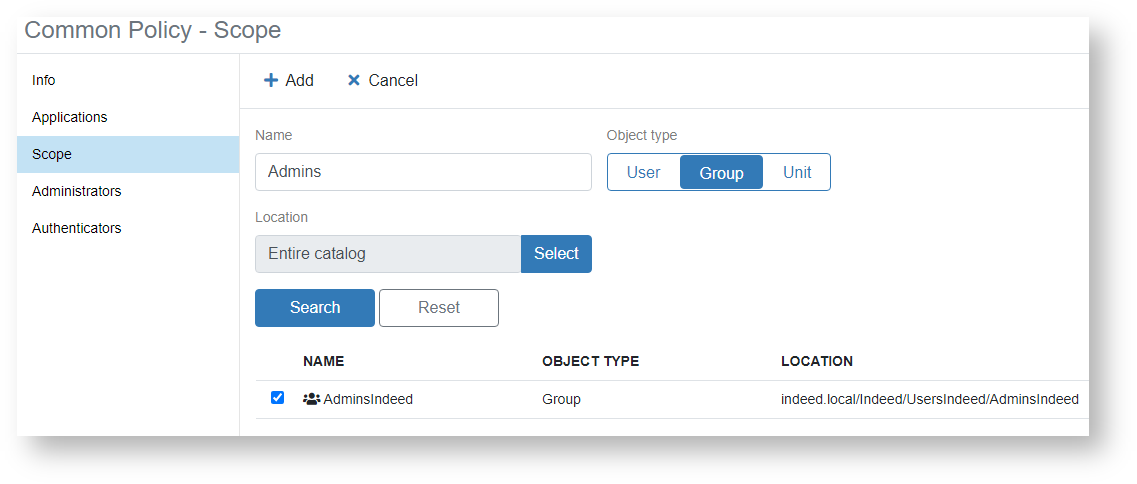
- Select the found object and click Add.
- After successfully adding the object will be displayed in the section.
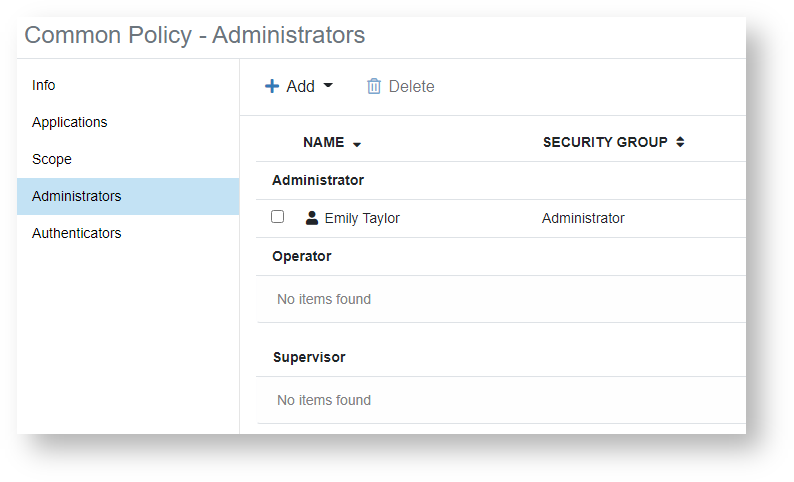
Administrators
This section shows the list of app administrators. Please follow these steps to add an administrator:
- Click Add and select a relevant role: Administrator, Operator, Inspector.
- In the Object type field, select one option: User or Group.
- In the Location field, please select the object location − it may be an entire user folder or a separate container.
- Please enter the object name or its part in the Name field and click Search.
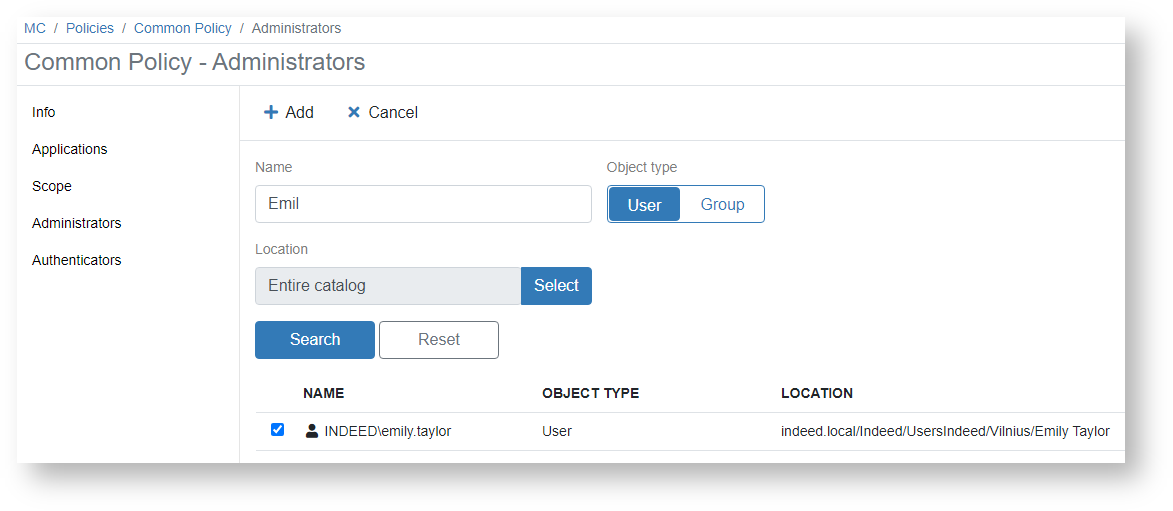
- Select a relevant object and click Add.
- Once the object has been successfully added, it will be displayed in this section.
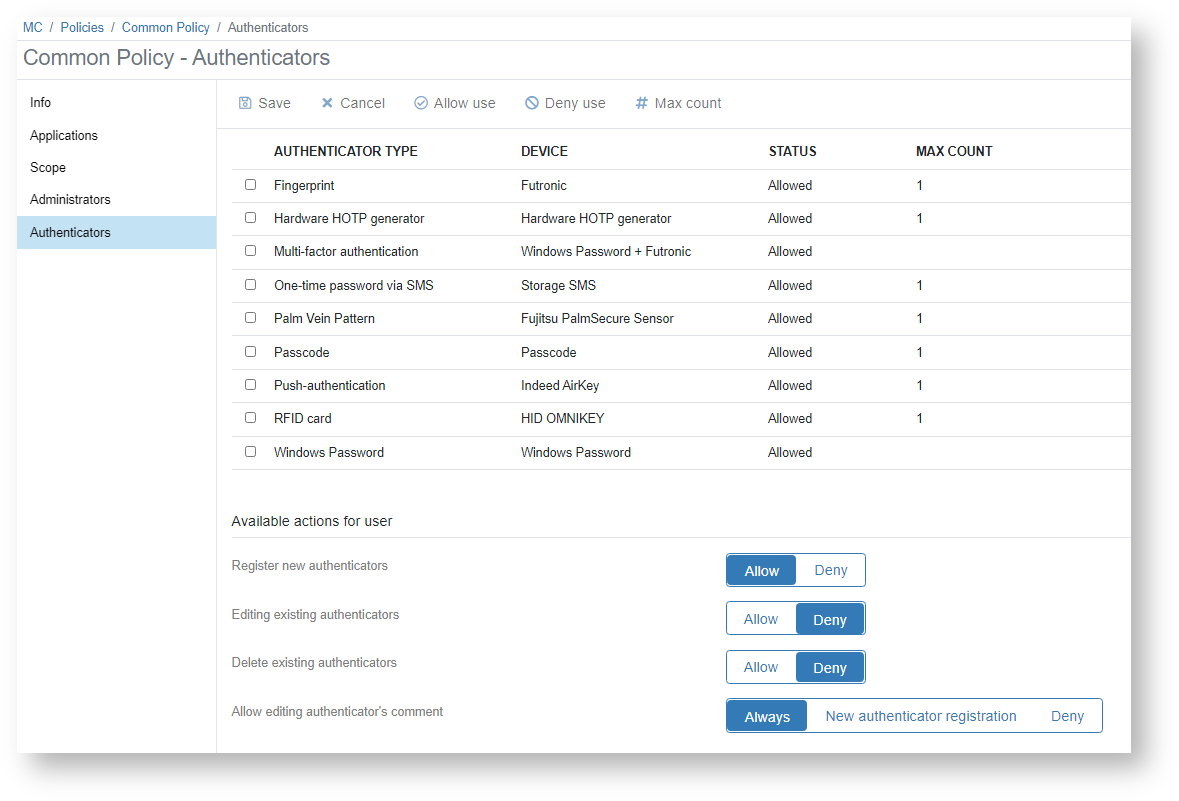
Authenticators
This section shows information about available authenticators and additional settings.
How to disable an authenticator
To disable an authenticator for all policy users, please follow these steps:
- Select a relevant authenticator and click Disable.
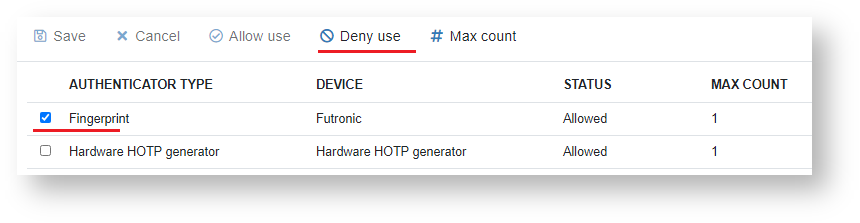
- After that, the authenticator status will be changed to Disabled.
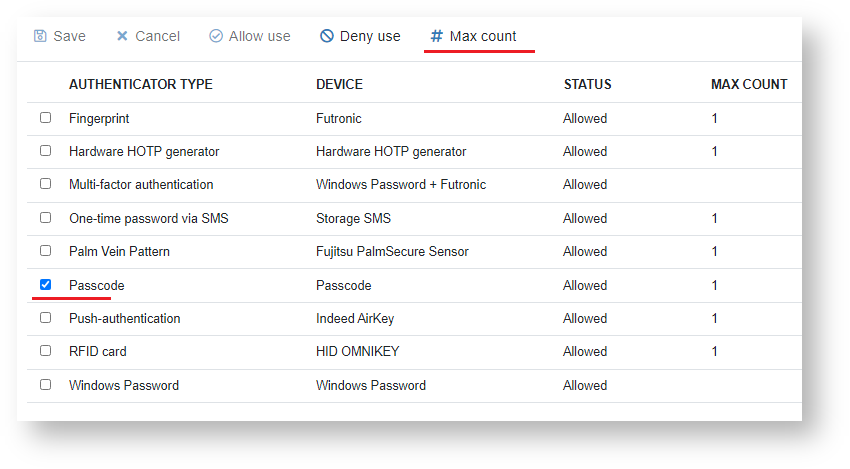
How to change authenticator limits
To change the maximum number of authenticators available for registration by a single user, please follow these steps:
- Select a relevant authenticator and click Max count.
- In the Max count window, please indicate a relevant value and click Save.
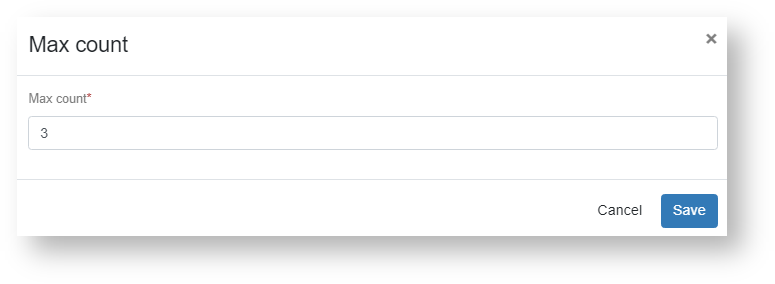
- Upon successful completion, the authenticator limits will be changed.
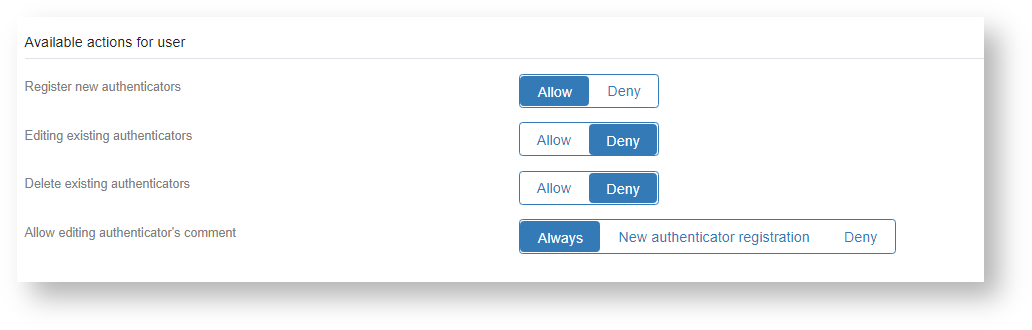
Available actions for user
- Register new authenticators − this parameter determines a user’s permissions to train authenticators. Default value: Enabled
- Edit existing authenticators − this parameter determines a user’s permissions to edit the existing authenticators. Default value: Disabled
- Delete existing authenticators − this parameter determines a user’s permissions to delete the existing authenticators. Default value: Disabled
- Allow editing authenticator's comment − this parameter determines a user’s permissions to edit comments to the existing authenticators. Default value: Always